
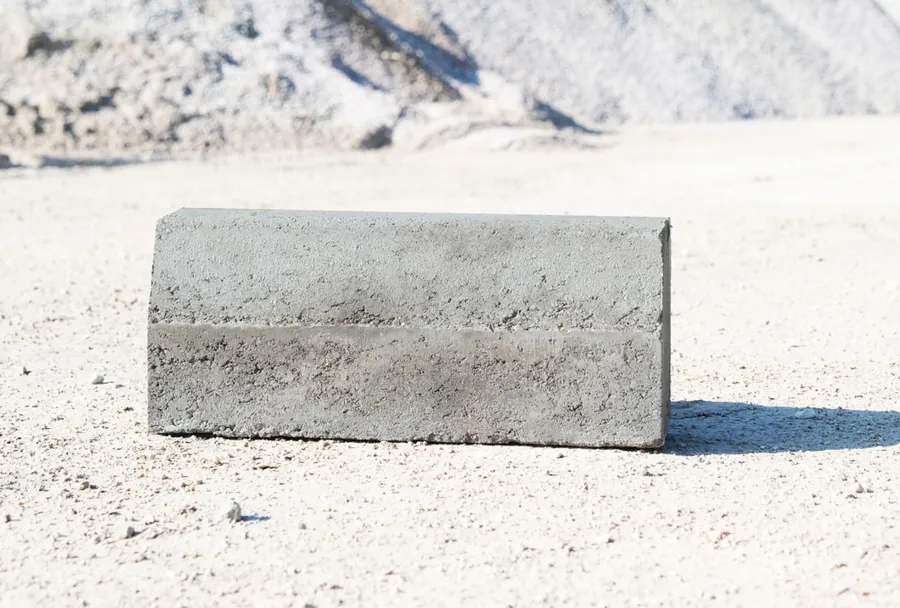
A kerb stone looks like an ordinary line separating footway from road, yet the job it does on site is far heavier. It provides lateral restraint to the paving, directs rainwater, physically separates pedestrian and vehicle areas and locks in the ground level. A kerb of the wrong type, or one laid without backing concrete, leans over within a few seasons and drags the paving with it. The right type, a product that meets its TS EN 1340 class, and complete laying from foundation concrete to joints are the trio that keeps a kerb in place for decades; skip any one of them on site and the run ends up being relaid.
What a Kerb Does: More Than a Boundary Line
A kerb has four basic jobs. The first is lateral restraint: interlocking paving is a loose-laid surface on a sand bed, and unless it is held at the edges it creeps sideways under wheel loads and the joints open. The kerb is the frame of that surface. The second is water management: rain falling on the road surface is gathered by the crossfall at the foot of the kerb and carried from there to the gullies. The third is separation and safety: the difference in level between footway and carriageway makes it harder for vehicles to mount the footway. The fourth is level reference: paving, asphalt or lawn is finished to the top of the kerb; if the kerb is bedded at the wrong level, everything ends up at the wrong level.
These four jobs also decide the choice of type. Use a garden kerb at the edge of a road that takes vehicle loads and the lateral restraint falls short; use a heavy road kerb in a villa garden and you get both needless cost and a problem of appearance.
Kerb Types: Road, Garden, Channel and Splayed
Road kerbs are the most common and the heaviest type. They are used between the carriageway and the footway, usually have a chamfered top on the exposed face, and have a thick section to withstand wheel impact. Their height exceeds their width; together with the backing concrete, this ratio gives them their resistance to overturning.
Garden kerbs have a slim, low section. They separate pedestrian areas from one another: lawn from paved path, flower bed from walkway. They carry no vehicle load. The exposed height is kept small; the purpose is to frame the surface and stop soil spilling onto the paving.
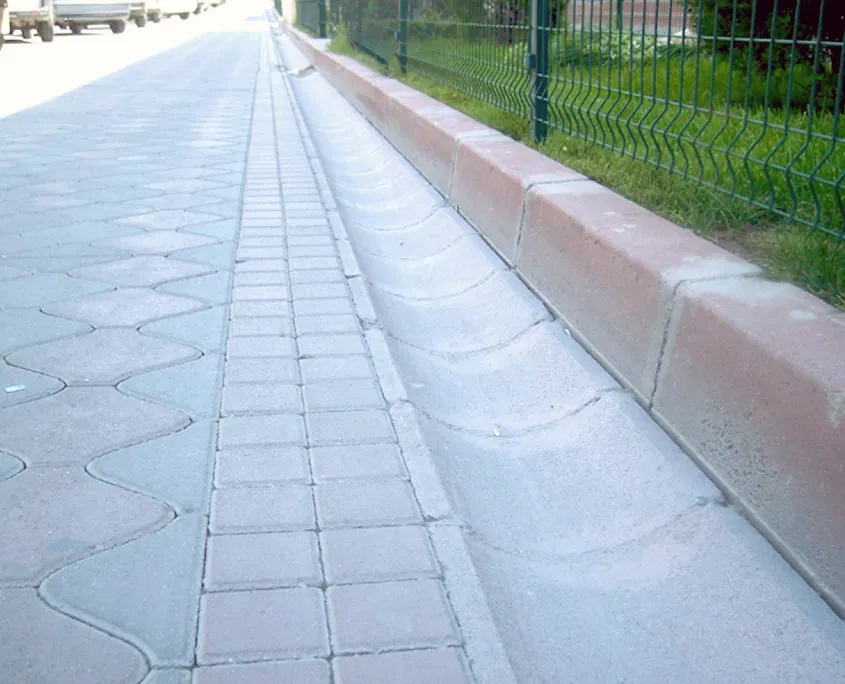
Channel kerbs are the type with a water channel formed in the top or front face. They act as both edge restraint and stormwater channel in one unit, with no need to lay a separate channel at the roadside. They are preferred above all on sloping streets, wherever water must collect along a line at the foot of the kerb and be carried to a gully.
Splayed or dropped kerbs are the type with a sloping front face. They are used at garage entrances, car park mouths, accessible ramps and cycle crossings, where vehicles need to mount the footway under control. Instead of an abrupt step they give a gentle transition and reduce tyre and wheel-rim damage. Curved or angled transition units are made for the change from a dropped kerb to an upright road kerb; without them, the two types meet in an ugly and dangerous break.
Alongside these there are radius kerbs for curved runs, corner units for turning corners, and double-sided kerbs with two exposed faces instead of one. Trying to solve a curved run by cutting straight kerbs into short pieces is the worst option in terms of both labour and appearance.
The Logic of Dimensions: Length, Height, Width and Exposed Face
Kerb dimensions are quoted as three figures: width, height and length. On road kerbs, for example, width and height are in the order of tens of centimetres, while length is between half a metre and a metre. The logic behind these figures is as follows:
- Height is the sum of the buried part and the exposed face. On footways the exposed face is kept within a range that will not trip pedestrians yet is not easily mounted by vehicles; the buried part is the surface the backing concrete grips. Reducing the buried part to gain exposed height lowers the resistance of the kerb to overturning.
- Width determines resistance to wheel impact and the self-weight that resists the overturning moment. Road kerbs are wide, garden kerbs narrow.
- Length is a balance between ease of handling and the number of joints. Longer units mean fewer joints, but they cannot be carried by two people and will not follow a curve. That is why short kerbs are used on curved runs.
When choosing dimensions, decide the exposed height first. On a footway this value is planned to give safe separation from the carriageway while dropping to zero with a ramp at accessible crossings. Then choose the kerb height that gives the right buried depth for that exposed height. Going the other way round, fitting whatever kerb is to hand by adjusting the excavation, ends with a kerb that is either buried too deep or standing too proud.
Then there is the matter of weight. Heavy road kerbs cannot be carried by one person; using kerb tongs or a small crane on site is the right approach, both for the health of the workers and to avoid broken corners. A kerb with a broken corner makes the run look uneven even when the joint is perfect.
What TS EN 1340 Requires: Strength, Water Absorption, Abrasion
The product standard for concrete kerb units is TS EN 1340. The standard does not dictate a mix recipe; instead it classifies the performance the product must show in service and requires the manufacturer to declare these classes and apply CE marking. When assessing a kerb on site, the four main properties to look at are:
- Bending strength: A kerb carries the wheel load applied to it like a beam. The standard defines three classes: 1 (S), 2 (T) and 3 (U); the characteristic bending strength rises with the class. The higher classes are for road kerbs that take vehicle loads, while a lower class may be sufficient for garden kerbs that merely frame pedestrian areas.
- Water absorption and weather resistance: Products in water absorption class 2 (B) meet a defined upper limit on water absorption. There are separate classes (3 / D) for freeze-thaw resistance and for freeze-thaw resistance in the presence of de-icing salt. Snow is rare in Bodrum, but sea salt and a constant wet-dry cycle fatigue concrete; low water absorption is the best insurance against surface scaling.
- Abrasion resistance: Declared as class 3 (H) or class 4 (I). It matters on the edges of heavily used footways and on road kerbs where vehicle tyres rub continuously.
- Slip resistance and dimensional tolerances: On kerbs with an untreated surface, slip resistance is naturally adequate. Dimensional tolerances, on the other hand, determine how even the joints are; units outside tolerance make the run look wavy.
When buying, ask the manufacturer for a written declaration of these classes. If there is no declaration, or only a concrete class is quoted, your question has not been answered; TS EN 1340 speaks of the performance of the finished product, not the concrete class. The standard is consistent with concrete practice based on acceptance at 28-day strength; sending a kerb to site before it has finished curing is a risk that cannot be seen but appears later as breakage.
Foundation Concrete and Backing Concrete: The Pair That Keeps a Kerb Standing
A kerb has no strength on its own; what holds it up is the foundation concrete beneath it and the backing concrete behind it. The laying sequence is as follows:
- Excavation and formation: A trench is dug along the kerb line, leaving a margin on both sides of the kerb width. The formation is compacted; soft ground or topsoil is removed and replaced with granular material. A kerb settles when the ground beneath it settles.
- Foundation concrete: Fresh concrete is placed on the compacted formation. The kerb is bedded into this concrete while it is still fresh and tapped down to level with a rubber mallet. In common practice a low-to-medium class concrete (for example C16/20 or C20/25) is used; what matters more than the class is that the concrete fills the underside of the kerb without voids. Bedding a kerb on mortar over hardened concrete puts the mortar to work rather than the foundation, and the kerb soon works loose.
- Backing concrete (haunch): On the footway side of the kerb, opposite the direction the load comes from, concrete is placed up to a set proportion of the kerb height and finished with a trowel on a slope. This concrete resists the moment with which a wheel tries to tip the kerb over towards the footway. A kerb without backing concrete does not last even half as long as one with it.
- Front support: On the road side, the asphalt or paving bears against the kerb, so extra concrete may not be needed; but if the surfacing is to come later and the kerb will stand exposed for a while, placing a low support at the front as well stops a kerb that takes a knock before curing from being pushed out of line.
The golden rule on site: do not load the kerb until the foundation and backing concrete have set. Even pushing a wheelbarrow over it the next day breaks the bond between the fresh concrete and the kerb, and that break comes back years later as a leaning kerb.
Level, Alignment and Joints: Three Conditions for a Straight Run
Level: Level pegs are driven at the start and end of the kerb run and a string line is stretched between them. The line represents the top front edge of the kerb. On long runs the line sags, so it is supported with intermediate pegs at intervals. As the road falls, the level falls and so does the line; the kerb follows the line. The level is also the direction of water flow: a kerb run built with the fall the wrong way collects water at the corner of the footway, not at the gully.
Alignment: The top edge of the kerb gives the level, the front face gives the line. Each unit is set so that its front face just touches the string line; no step is left between the faces of adjacent units. On curves a template or closely spaced pegs are used instead of a string line. If you are forced to lay a curve with straight kerbs, the joints end up open on the outside and closed on the inside, which spoils the appearance; this is why radius kerbs are preferred.
Joints: A narrow joint is left between kerbs and is either filled with mortar or left open. A constant joint width is the first condition for a run that looks straight. In a mortared joint the mortar should stay inside without smearing onto the kerb face and should fill the joint to its full depth; a joint that is only capped on top washes out in the first rain. On long straight runs, leaving an expansion joint at regular intervals stops the kerbs pushing against each other in the summer heat.
Working with Paving: Kerb First, Surfacing Second
Interlocking paving and kerbs are one system. The correct order is: first the kerbs are bedded in place with foundation and backing concrete and the concrete sets, then the sand bed for the paving is spread and the paving is laid up against the kerb. Do it the other way round, laying the paving first and trying to close the edge with a kerb afterwards, and the sand bed runs out at the edges and the outer course of paving sinks.
The relationship between the top of the kerb and the top of the paving is also decided at the outset. In pedestrian areas the paving is usually finished level with the kerb or a few millimetres above it, so that water runs towards the kerb; on a carriageway the kerb stands above by its exposed height. In the last course, where the paving joints meet the kerb, cut pieces are needed; if the cutting is not clean, the gap between kerb and paving becomes a route for the sand to escape.
We covered ground preparation, sand bed thickness and jointing sand in detail in our guide to laying interlocking pavers; the kerb steps here should be read as the edge frame of that guide. For paving products, see our interlocking paving stones page.
Common Kerb Mistakes and Starting with the Right Product
- Omitting the backing concrete: The most common and most expensive mistake. The kerb leans over towards the footway before it has even seen out its first winter.
- Bedding on dry ground with mortar: A few shovels of mortar instead of a concrete foundation. The kerb soon works loose and the joints open.
- Early loading of fresh concrete: A vehicle, a wheelbarrow or a stack of materials the day after laying. The bond breaks.
- Taking a curve with straight kerbs: The joints open on one side, the appearance suffers, and water and weeds get into the open joints.
- Reverse fall: The string line falls towards the corner of the footway instead of the gully; standing water after every rain.
- Installing units with broken corners: A chipped unit is put in to avoid wasting material; the run looks broken, and the damaged corner holds water.
- Long runs without expansion joints: In summer the kerbs push against each other, the joints crack and some units lift.
- Wrong type: An upright road kerb at a garage entrance, a garden kerb on a carriageway. The first breaks tyres and wheel rims, the second is knocked over at the first impact.
Almost all of these mistakes are made to save a few hours and a little concrete on laying day; the price is lifting and relaying the whole run a few years later.
However good the workmanship on a kerb job, the result will not last if the product does not meet the TS EN 1340 classes. At Bodrum Boru we manufacture road, garden, channel and splayed kerb types to the standards at our Milas facility and supply them from a single source together with interlocking pavers and drainage elements. See our kerb stones page for product details, and our contact page for help choosing the type and size for your project.
Frequently asked questions
What is the difference between a road kerb and a garden kerb?
A road kerb is made with a thick section and a high bending strength class to take vehicle loads; it separates the footway from the carriageway. A garden kerb is slim and low, and is used only in pedestrian areas to separate lawn, soil and paving from one another. Using a garden kerb on a carriageway ends in it being knocked over at the first impact.
Is backing concrete essential when laying kerbs?
Yes. Backing concrete is the only element that resists the moment with which a wheel tries to tip the kerb over towards the footway. A kerb laid without it starts to lean within the first few seasons and drags the paving with it. On garden kerbs that take only pedestrian loads a lower haunch may be enough, but it should never be omitted altogether.
Can a kerb be loaded before its concrete has set?
It should not. The bond between the kerb and the foundation and backing concrete forms as the concrete sets. Early loading breaks that bond and the kerb works loose later. It is right to wait at least a day or two, depending on the concrete class and the weather, and to start the paving only once the concrete has gained sufficient strength.
Which classes should I look at in a TS EN 1340 declaration?
The bending strength class (1/2/3 or S/T/U), the water absorption class (B), the freeze-thaw class (D) and the abrasion resistance class (H or I). The higher strength class should take priority for road kerbs that carry vehicle loads, and low water absorption for kerbs by the sea. A concrete class alone does not answer this question.
Can straight kerbs be used on curved runs?
Not unless there is no alternative. When a curve is taken with straight kerbs the joints open on the outside and close up on the inside; the appearance suffers and water and weeds get into the open joints. A radius kerb matched to the curve radius, or short kerbs, is preferred.
Should the kerb and the paving be at the same level?
It depends on the area. In pedestrian areas the paving is finished level with the kerb, or a few millimetres above it so that water drains towards the kerb. On a carriageway the kerb stands above the surfacing by its exposed height. In both cases the kerb is bedded first and the paving laid afterwards.
Related articles
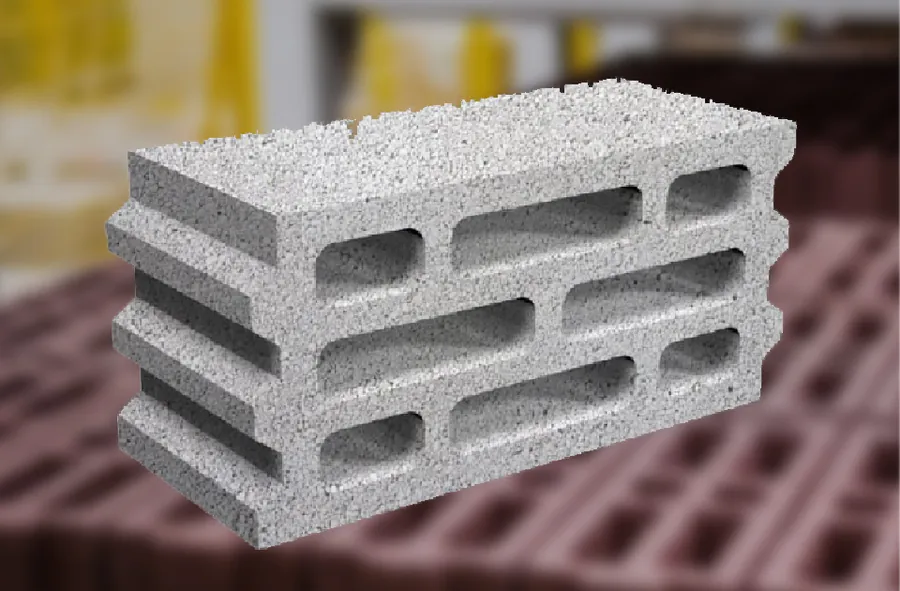
Guide to Building Walls with Pumice Blocks: From Selection to Render
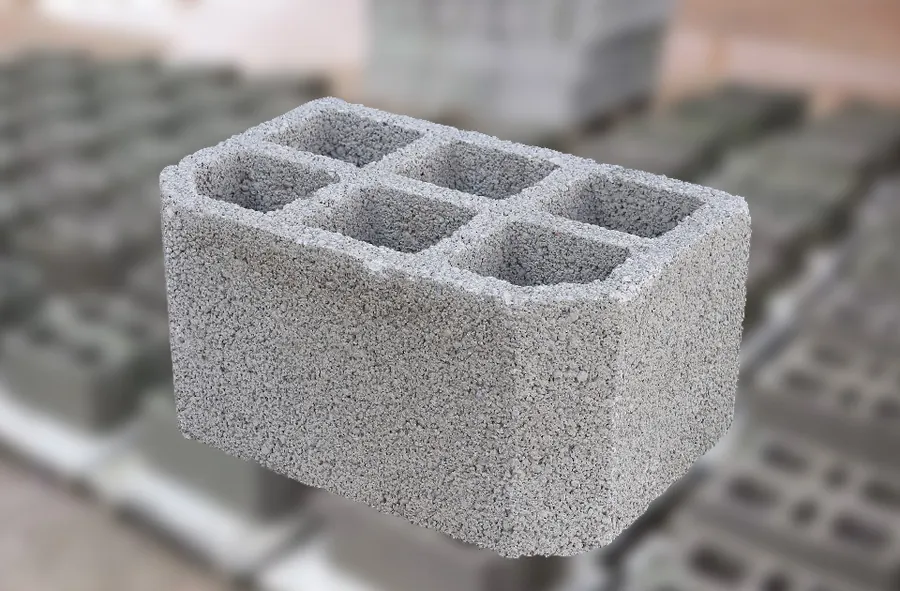
What Is a Hollow Block Floor System, and Where and How Is It Built?
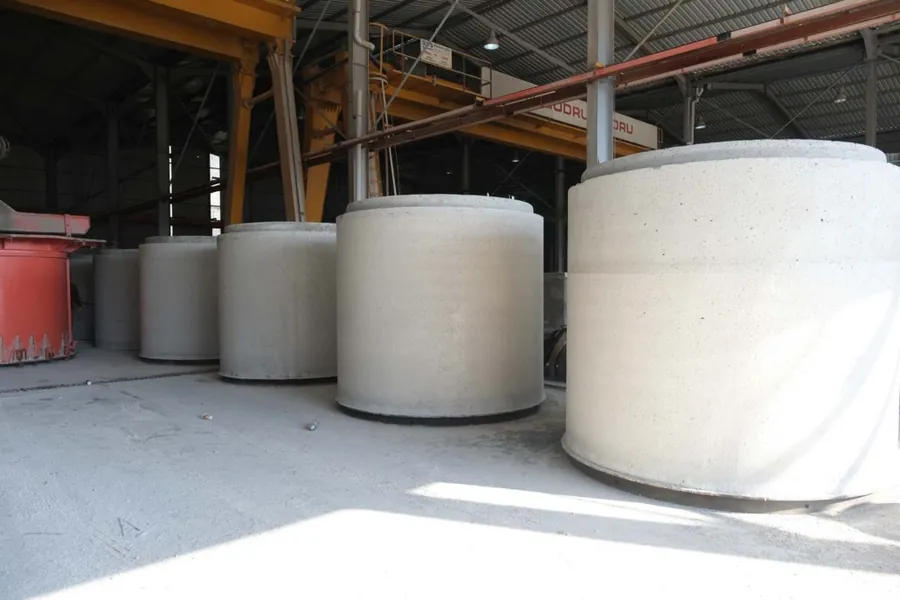
Choosing the Strength and Load Class of Concrete Pipe: What to Check in the Design
Stormwater Drainage: Channels, Grating Classes and Ditch Elements
Manhole (Inspection Chamber) Elements and Installation: From Base to Cover
Laying Interlocking Pavers: Ground Preparation, Sand Bed and Joints
Laying Concrete Pipes: Trench, Bedding, Seals and Joints
Let us prepare a product and delivery plan for your project
Contact our plant management for stock availability, size options and a price quote. Same-day delivery from our facility at the centre of the Milas–Bodrum axis to Milas, Bodrum, Muğla, Didim and the surrounding areas.